Creating a new membership in MemberDash allows you to control content access and customize payment options for your members. This guide will walk you through the steps to add a new membership, select membership types, and configure payment settings.
Creating a New Membership
To get started:
- Go to MemberDash > Memberships.
- Click Create New Membership to open the membership setup screen.

Selecting Membership Type
MemberDash offers four membership types:
- Standard Membership: Content is available immediately after registration.
- Dripped Membership: Content is released gradually over time.
- Guest Membership: Content is accessible only to logged-out users.
- Default Membership: Content is available to all logged-in users without a specific membership.
Tip: The Standard Membership is the most popular choice for providing instant content access.
Configuring Membership Details
- Name the Membership:
Choose a name carefully. Changing the name later could cause issues with existing subscriptions. - Public or Private Membership:
- Public Membership: Check the box Allow users to register for the membership to display this membership on the registration page automatically.
- Private Membership: Leave this box unchecked if the membership is restricted or invite-only.
- Free or Paid Membership:
- Check This is a paid membership if you want to charge for access.
- Click Save and Continue to proceed to the payment configuration.
Configuring Payment Settings
You will now be directed to the Payment Settings screen, where you can:
- Set individual membership payment details.
- Adjust Global Payment Settings if needed.
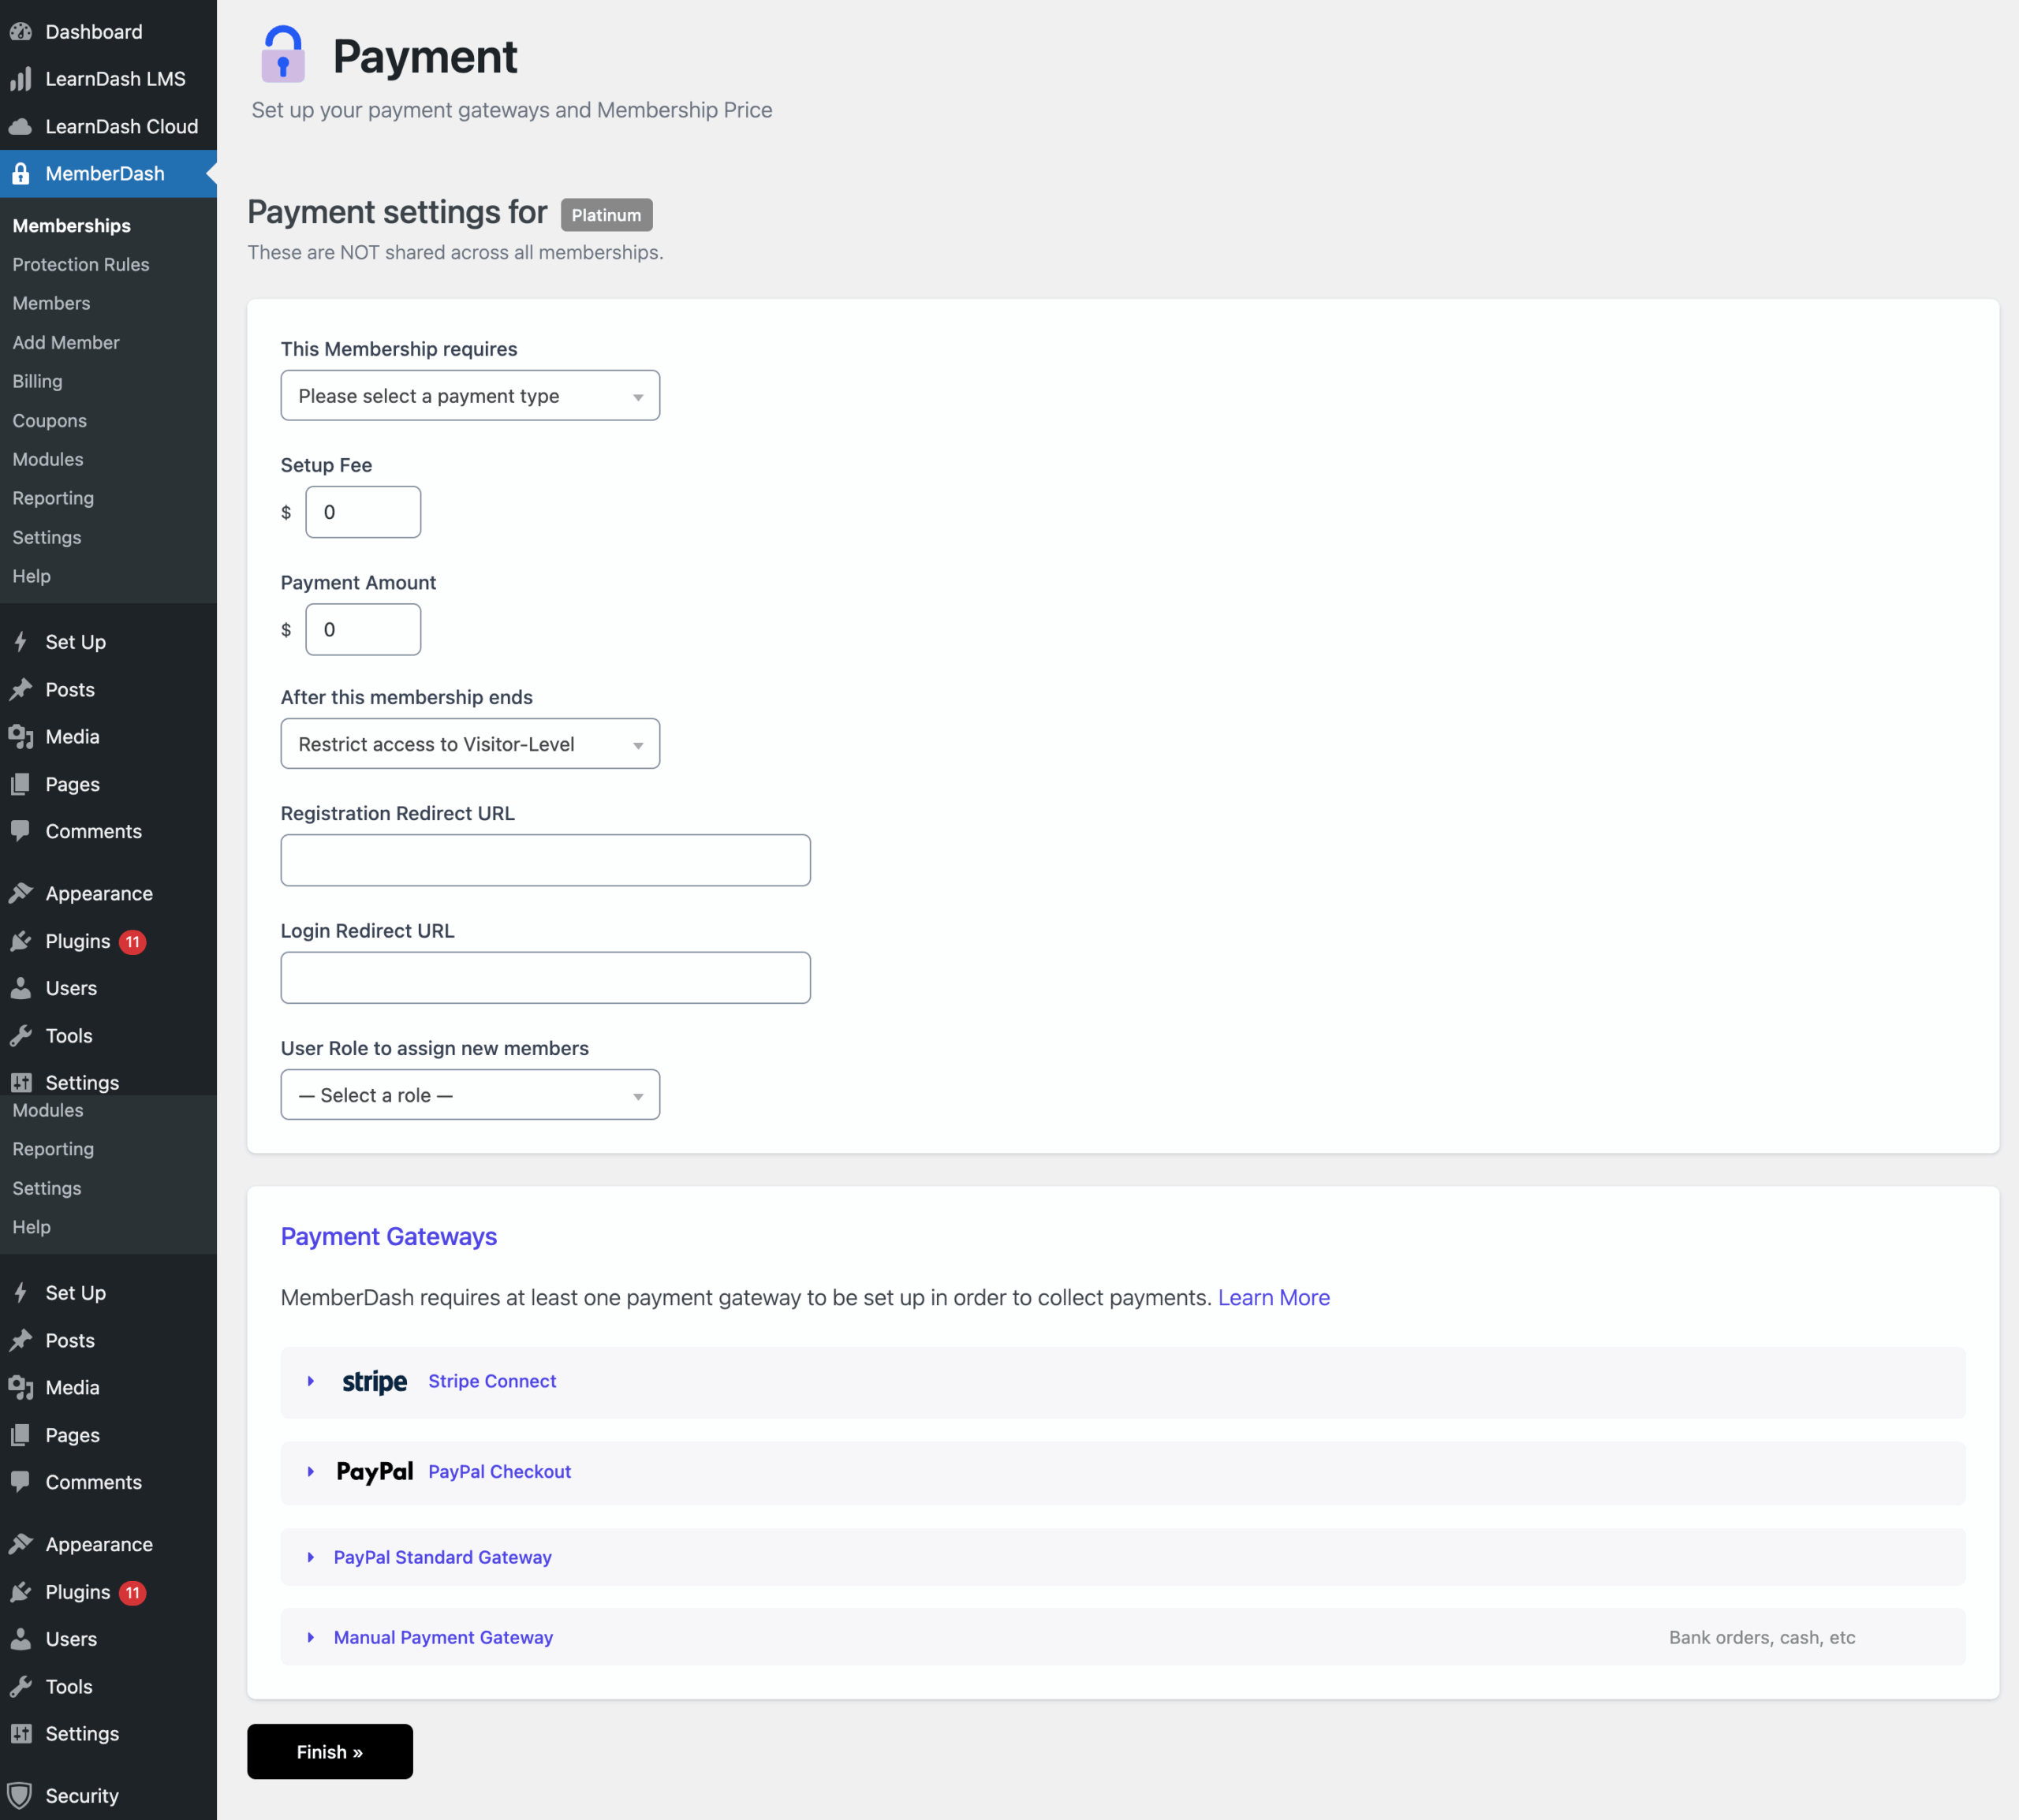
Available Payment Types:
- Recurring Payments: Regular billing at intervals you define.
- One-Time Payment for Permanent Access: Lifetime membership access.
- One-Time Payment for Finite Access: Membership access for a set number of days.
- One-Time Payment for Date Range Access: Membership access within specific start and end dates.
This tutorial focuses on setting up a Recurring Payment Membership.
Steps for Recurring Payment Membership:
- (Optional) Add a Setup Fee.
- Set the Payment Amount.
- Choose the Payment Frequency (days, months, years).
- Define the Total Payments (enter “0” for unlimited billing).
- Select where the member should be assigned if the membership expires or is canceled.
- (Optional) Add a Registration Redirect URL (where users land after signing up).
- (Optional) Add a Login Redirect URL (where users land after logging in).
- (Optional) Assign a User Role to new members.
- (Optional) Enable a Free Trial.
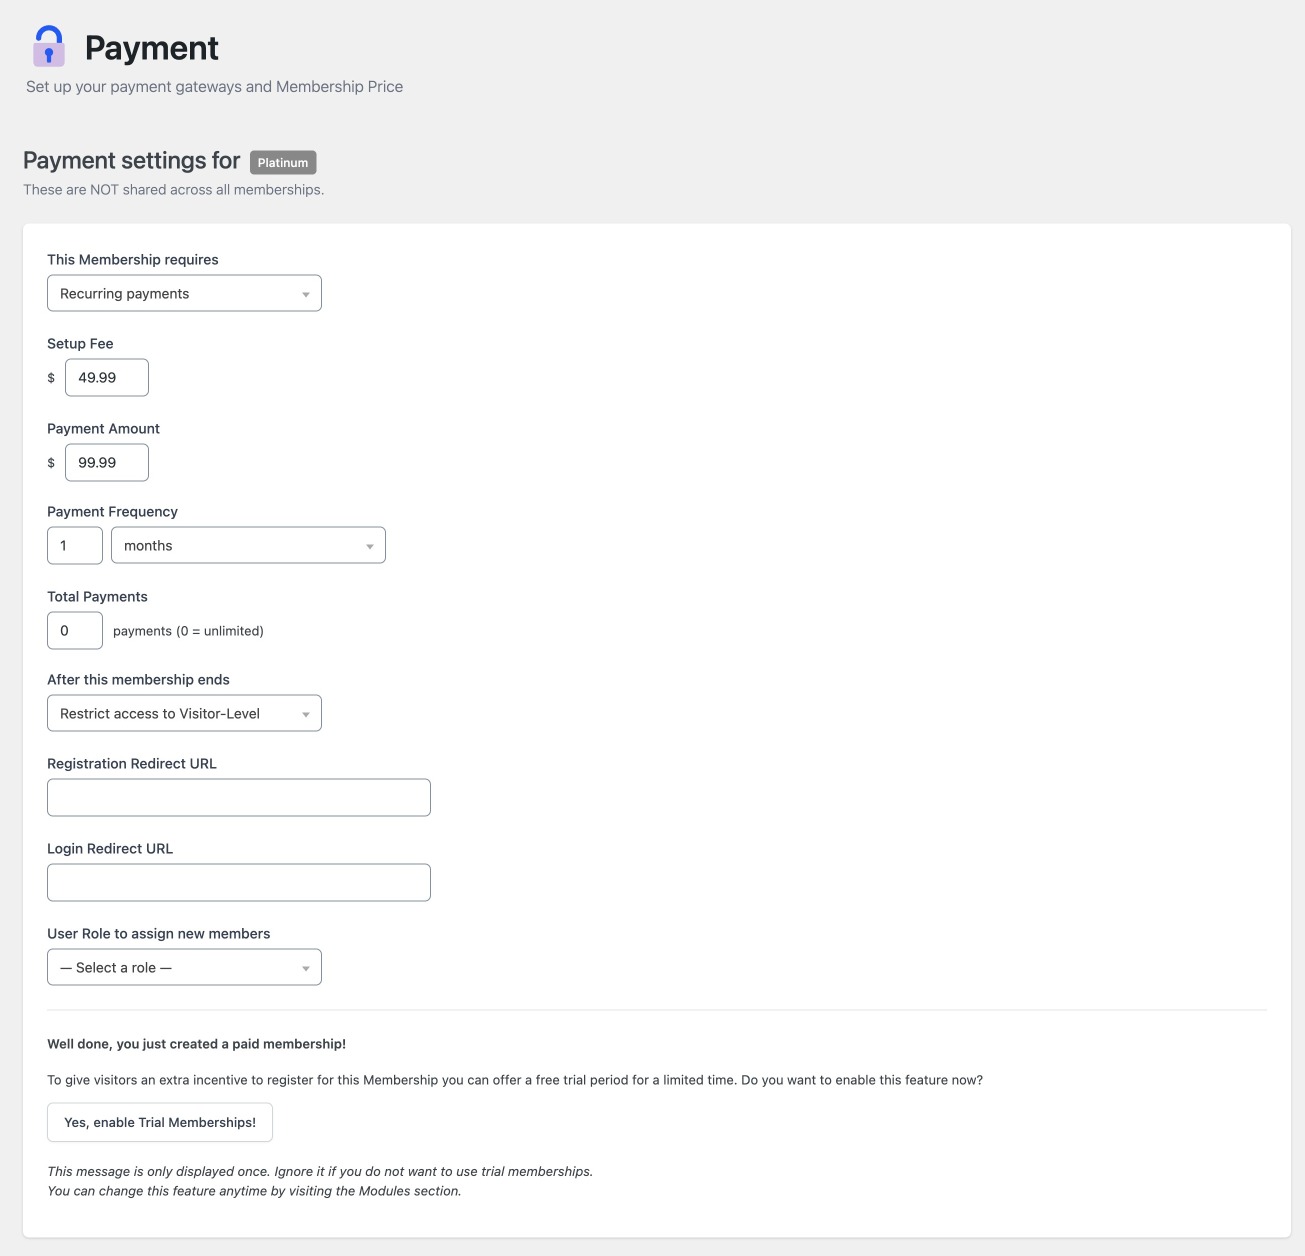
Free Trial Settings:
If you enable Trial Memberships, additional settings will appear, allowing you to:
- Turn the free trial on or off for this membership.
- Define the trial duration.
Selecting a Payment Gateway
Before finalizing:
- Select the Payment Gateway you want to use.
- All configured gateways will be available for selection. You can also configure a new gateway from this screen if needed.
Finalizing the Membership
Once all settings are complete:
- Click Finish to save your new membership.
- You will be returned to the Memberships List screen.
Conclusion
Adding a new membership in MemberDash is a streamlined process that offers flexible options for both free and paid memberships. Whether you’re setting up simple subscriptions or complex drip content with trial periods, MemberDash provides the tools you need to customize the member experience and payment workflows.